Whether you are a hobbyist in photography or a professional photographer, you would have always thought about getting large format prints of your taken photographs.
Well, if you are considering to do this lately, let us inform you about some of the photo preparation tips and tricks which would help you get highly effective and gorgeous large-format prints:
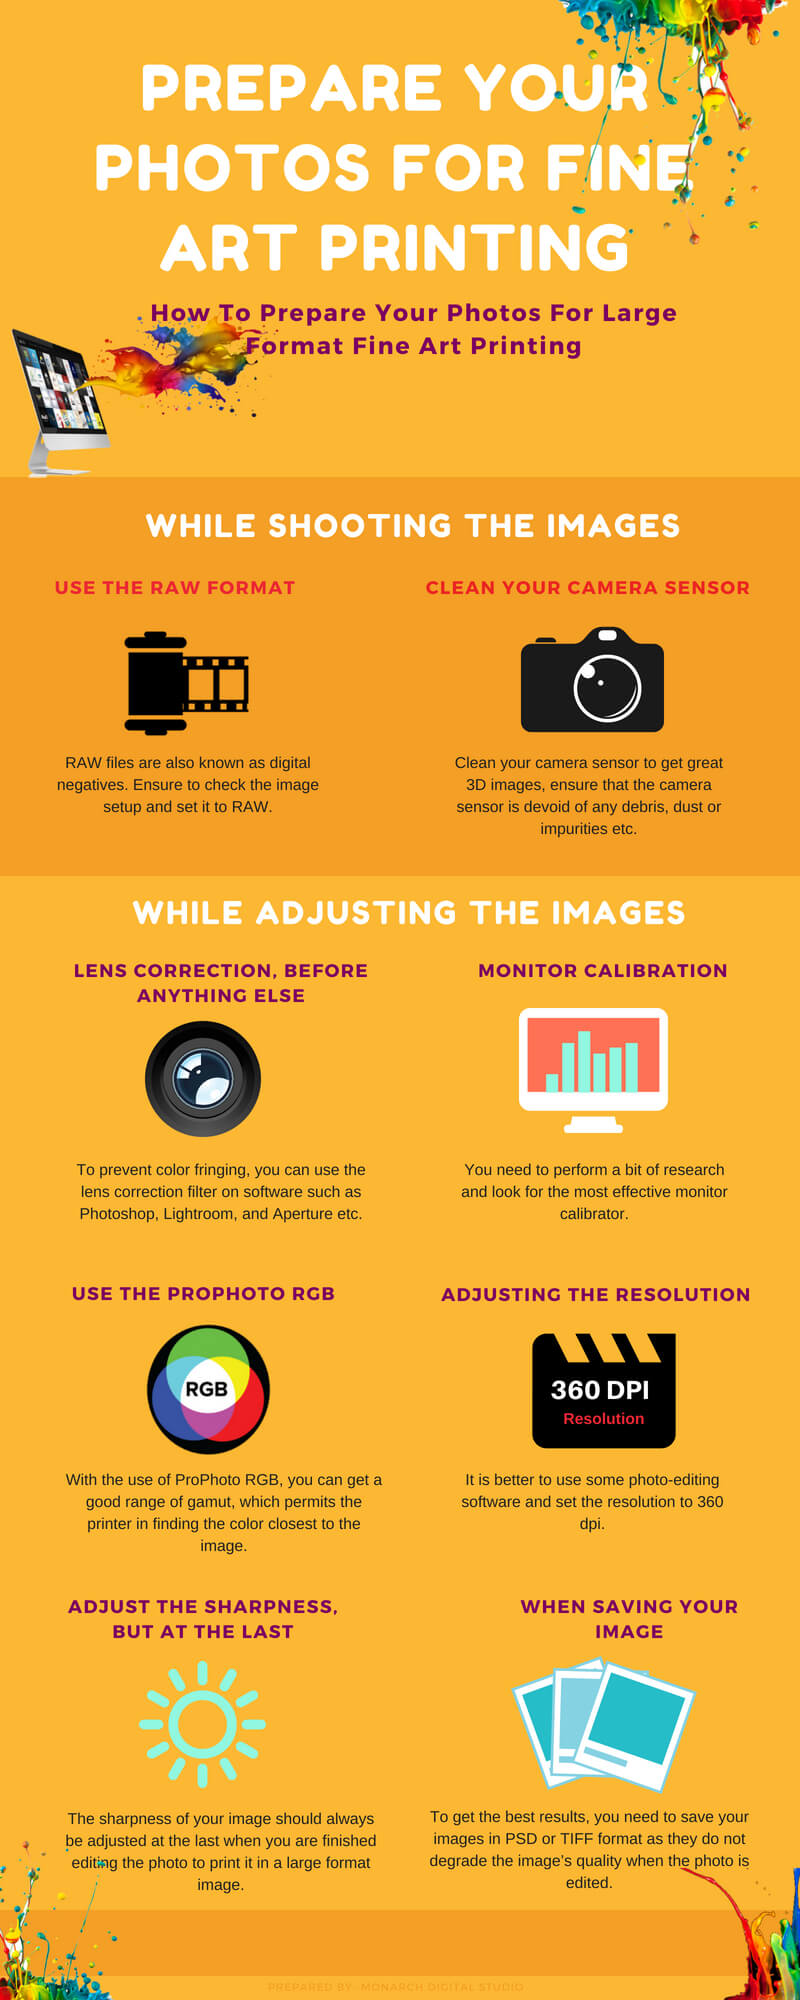
While Shooting The Images:
- Use The RAW Format:
RAW files are also known as digital negatives. The RAW image of a camera contains minutely processed data from your digital camera’s image sensor and it holds great importance. Thus, ensure to check the image setup and set it to RAW.
- Clean Your Camera Sensor:
To get great 3D images, ensure that the camera sensor is devoid of any debris, dust or impurities etc. Sensor dust spots may remain to lie on same areas of an image and indicate that the camera sensor needs cleaning.
Get your camera manual and look for the instructions on how to clean the sensor. And since this tends to be extremely delicate, you need to take much care of the process.
While Adjusting The Images:
- Lens Correction, Before Anything Else:
The camera lens suffers a phenomenon known as ‘Chromatic Aberration’ or ‘color fringing’ which results in blurring the image or leaving a noticeable colored edge in the printable object. And this edge is especially visible in large format photos.
To prevent this, you can use the lens correction filter on software such as Photoshop, Lightroom, and Aperture etc.
- Monitor Calibration:
If you are a photographer, you would understand the concept of monitor calibration. For this, you need to perform a bit of research and look for the most effective monitor calibrator.
A proficient monitor calibrator can also save your money by displaying the colors as close as possible.
- Use The ProPhoto RGB:
In order to prevent any kind of gamut issue while printing the image, you would require a wide-gamut coloring space. And with the use of Pro-Photo RGB, you can get a good range of gamut, which permits the printer in finding the color closest to the image.
- Adjusting The Resolution:
Most of the printers would change your image to 360 pixels, no matter what resolution it has beforehand. Therefore, it is better to use some photo-editing software and set the resolution to 360 dpi. This would help you exercise better control over the quality of the image.
- Adjust The Sharpness, But At The Last:
The sharpness of your image should always be adjusted at the last when you are finished editing the photo to print it in a large format image.
- When Saving Your Image:
Most of the photographers like saving their images in JPEG format, regardless of the fact that the images lose their quality in the process.
To prevent this and to get the best results, you need to save your images in PSD or TIFF format as they do not degrade the image’s quality when the photo is edited.
These are some of the adjustments which you need to keep track of in an image while it is to be printed in a large format.
And essentially, do not forget to consult a good printing service for the same, which is richly experienced in printing all kinds of large images.


